Sneak Peek 'Shaker Card' - 'Case the Designer' Challenge Global Design Project #gdp016

| on
10:31
It's Boxing Day! 
After a lovely Christmas Day with my 3 favourite boys, we are now having a relaxing and chilled out Boxing Day. The sun is shining and we will be spending some time at the River for a bit of family fun on our Stand Up Paddle Boards. 
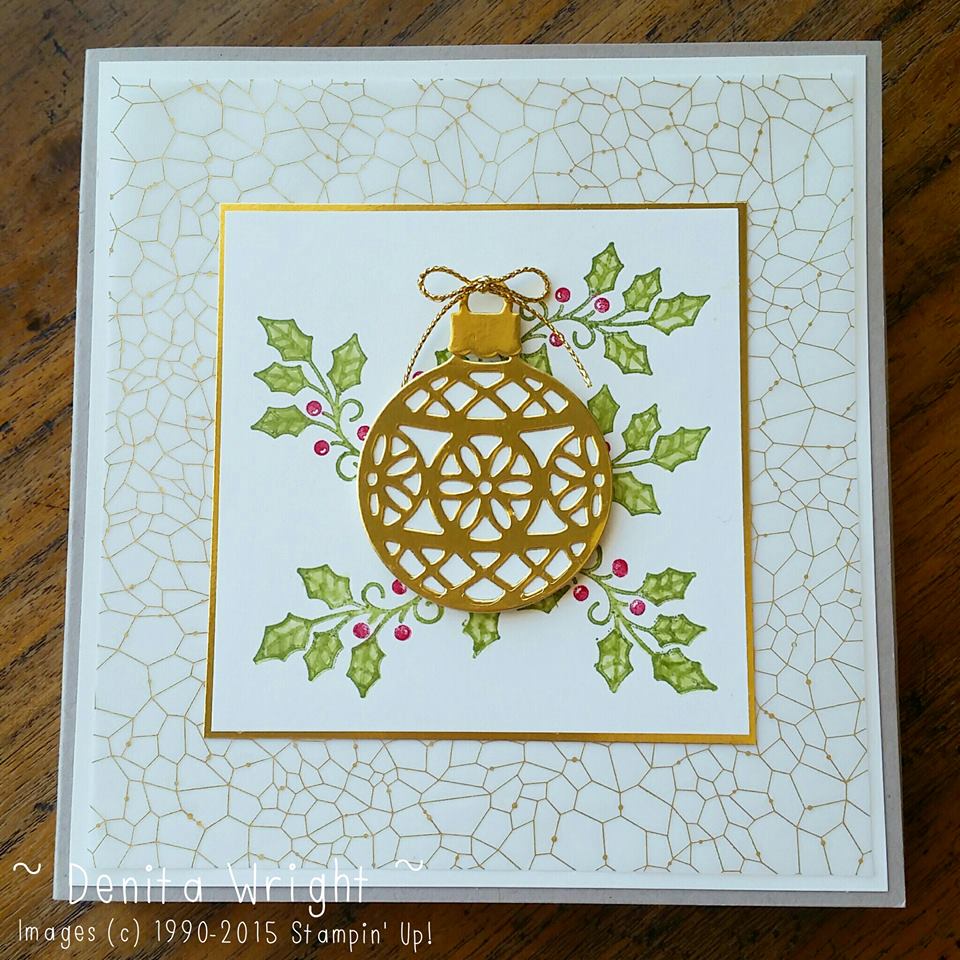
I did find some time for this weeks Global Design Project 'Case the Designer' Challenge. This week we CASE Bibi Cameron. I love Bibi's card and I love her style.
I was inpsired by a few elements and my card has the 
Theme: Shaker card; Layout: Portrait style with circle and sentiment in the centre and Colours: Blue, Whisper White & Gold. 
Plus, I have a Sneak Peek for you at a brand NEW stampset from the Sale-A-Bration Catalogue 'Hello'. All will be revealed January 5th, 2016.
I have used Bermuda Bay cardstock as my card base, and coordinating Bermuda Bay DSP from the 'Cherry on Top' DSP Stack. Accents in Whisper White and Gold Foil to finish the theme for this weeks Challenge.
The Gold Cording Trim is as beautiful for Christmas as it is on this 'Hello my friend' card. 
Inside the card is a Gold embossed sentiment and I have added Gold Foil stars from the Confetti Stars Punch. There is also a strip of 'Cherry on Top Washi Tape' at the bottom of the card.
I have CASEd 2 designers this week... I love a 'Shaker' card and I am going to share with you a tutorial on how to make your very own! My gorgeous friend Louise Sharp has a video tutorial - and as you will see my card is slightly different in regards to the dimensions because my card base measures 10.5cm x 14.8cm (29.7cm before folding in half) eg. my window sheet is 3.5" x 3.5". 
Please click here to view Louise's tutorial. She is so clever, and I love her!
With only a few days left of 2015, we wish you peace, love and happiness for wherever you are in the world. If you have any questions about my 'Shaker' card please ask away, and I would love for you to leave a comment. Much love, D x

Below are all the products used for my Sneak Peek
'Shaker card' creation. Click on a thumbnail to be taken to my Online Store. While you are there you can check out the Year-end SALE, Weekly Deals & Clearance Rack. Have fun shopping. 
*Australian Residents Only

Built for Free Using: My Stampin Blog

Sneak Peek 'Celebrate' - Global Design Project #gdp015

| on
17:54
Hello and welcome to my blog. 
It's the Global Design Project 'Theme' Challenge #gdp015 this week, and the Theme is 'Celebrate'. I am celebrating that School is out for Summer (and I'm singing it right now), and my Teacher Husband has finally finished the year as of today. And Celebrate we are! What are you Celebrating right now? Maybe a December Birthday?
I have made a Birthday card; using some gorgeous NEW products available in the Occasions Catalogue from January 5th, 2016. 
What's a celebration without balloons? These cute little balloons using Blushing Bride, Mint Macaron, Pool Party & Watermelon Wonder are NEW and in the Occasions Catalogue - 'Party Wishes Stamp Set' and coordinating 'Party Punch Pack' and they will come as a BUNDLE!!! Happy days.
I immediately thought of the wood veneer 'Celebrate' for my creation from the 'Expressions Natural Elements'. This pack also has 'Thanks' & 'Congrats' and there are 5 of each (15 in total) to make your 3D projects look amazing!!!
I used the Gold Metallic Thread for the balloons and threaded the strands through the 'Celebrate'. 
I stamped a little 'make a wish' on the inside of the card, and added a banner at the bottom using the very pretty 'Birthday Bouquet Designer Series Paper'. I am in love with this DSP. Seriously, IN LOVE. It's my newest and best DSP, and you are going to love it too... I know you will. 
Did you notice the strip of the most gorgeous and NEW 'Pool Party Glitter Ribbon', sitting underneath the 'Celebrate' sentiment? Again, I am in love with this stunning ribbon. IN LOVE, and I gasped when I saw it!!! You can see it all shiny and sparkly (in the photo above) and for my project I cut it down to a finer strip; (originally 1cm or 3/8" wide). 
WARNING: This ribbon frays when cut. I used Multipurpose Glue to adhere the ribbon to the cardstock, using the teeniest amount to the cut side to hold it all together. 
I punched Vellum balloons to overlay the existing stamped and punched cardstock balloons. The vellum gives the existing balloons a soft layer, and they have a lovely finish as if they were real and floating in the air.

I cannot wait for the Occasions Catalogue to go live in January, and please let me know if you would like me to send you your very own - *Australian Residents Only. It's so gorgeous, you have to see it and hold it and flick through it and get your Wish List ready... just message me.

Thankyou for coming along and reading my blog post. I really love your comments and I really do try and reply back. The main thing is that I have inspired you and hope you get the chance to play along with the Global Design Project? D x

Below are all the products used for my Sneak Peek
'Celebrate' creation. Click on a thumbnail to be taken to my Online Store. While you are there you can check out the Year-end SALE, Weekly Deals & Clearance Rack. Have fun shopping. 
*Australian Residents Only
Built for Free Using: My Stampin Blog

Sneak Peek 'Going Global' - Global Design Project Sketch Challenge #gdp014

| on
15:00
Hi there!
Don't you just love a Sneak Peek? Today I am using a brand new Stamp Set and Designer Series Paper Stack which will be available in the Occasions Catalogue 5th January, 2016.
I just had to use it, and use it I did for the Global Design Project Sketch Challenge for this week.

This is my creation using the 'Going Global' stampset and the coordinating 'Going Places Designer Series Paper Stack'. I added the sentiment banner to the left hand side of the card, otherwise I have stayed with the sketch as is.
I made this card for my amazing and gorgeous husband, Andrew. It's from me and our 2 little boys, as we have had a really big year and we wanted to let Andrew know that we love him to bits and pieces. From a health scare in April to a worthy promotion at work - Andrew is our shining star, and he really does mean the world to US!
The original stamp image says 'You Mean the world to Me', however, I altered this particular stamp in a couple of ways; by adding the 'US' and the heart banner using another stamp from the same stamp set.
Here are the stamp images for the 'Going Global' stampset. This is such a versatile stampset and can be used for many occasions; Anniversary, Wedding, Valentine's Day, Father's Day and for whatever occasion you want to celebrate. I can't wait for you to be able to order it soon.
I had an awesome find when flipping through the 'Going Places Designer Series Paper Stack'... a lovely world map image and in the bottom and top right corner is a map of Australia!!!
I surrounded Australia with the Southern Cross - a constellation located in the Southern sky and also found on the Australian flag. The tiniest of the stars is located on the East Coast around about where we live.
I hope you have enjoyed seeing my creation for the Global Design Project. You still have time to join in the fun of the Sketch Challenge, and you can see the Schedule here.
Me and my beautiful 3.
We wish you a Merry Christmas and a Happy New Year!
Denita x 

Below are all the products used for my Sneak Peek
'Going Global' creation. Click on a thumbnail to be taken to my Online Store. While you are there you can check out the Year-end SALE, Weekly Deals & Clearance Rack. Have fun shopping. 
*Australian Residents Only

Built for Free Using: My Stampin Blog


Creation Station Blog Hop 'Christmas'

| on
01:00
Hello and welcome to the December Creation Station Blog Hop. Thankyou for joining me, and don't forget to visit everyone on the hop. Prepare yourself to see some amazing creations by talented Stampin' Up! Demonstrators from around the world! 
'Embellished Ornaments' is my stamp set of choice for this months 'Christmas' themed Blog Hop. I especially love the intricate dies that coordinate with this stunning set. And there is a whole lot of coordinating accents to make your projects so pretty.

I love the combination of Very Vanilla & Gold, and an LED tealight, inside the easel, beautifies this Gold Foil ornament on top of a vellum window. I have used Washi Tape from the 'Winter Wonderland Suite' around the edge of the cardstock which frames the ornament.

I finished the ornament with Gold Cording Trim, and fussy cut holly & leaves. I found the cutest tutorial for this luminaire card. Please click here for the tutorial by Sabine.

These Christmas cards are simple and sweet using the beautiful 'Winter Wonderland Designer Vellum Stack' and accents.


How gorgeous are the Wooden Snowflake Elements and the bling of the Winter Wonderland Embellishments? And with a hint of Gold Metallic Thread behind makes for a lovely finish.
Black, White & Gold with Wooden Snowflake Elements & Gold Cording Trim bows.

I have been wanting to make a Tealight Holder card, and I found a tutorial so you can make one too. Click here for the link to Gio's tutorial.
I wrapped the 'Winter Wonderland Washi Tape' around the tealights. And I altered the middle of the card with my own pocket to add the Christmas cards and envelopes.

And now for something a little bit different:
I had an idea to make a 'Stained Glass' ornament Christmas card. I have seen a few 'Stained Glass' type projects on Pinterest using different coloured cardstock to fill in the intricate die cut; that is a lot of work - and knowing me I would have endured such a project, however I had other plans...

I am loving the bold stripes on the Vellum overlay. The Bright colours of the ornament, and a little bit of gold, lift the black & white of this card.

The Basic Black ornament die adhered to vellum was perfect to colour in, and I used all 10 of the 'Brights Stampin' Write Markers' to create the 'Stained Glass' ornament. 

And wait, there is another one... with an LED tealight for the glow behind the 'Stained Glass' panel. (I think this one is my favourite!)

Thankyou so much for hopping by and seeing my projects. I hope to have inspired you? Don't forget to click on the NEXT button to see what Holly has in store for you. 
Or you can click on the BACK button to go to Julie's blog. 
Wishing you a very 'Merry Christmas'.
D x

*Do you know what I used for the gold 'button' to hold the easel cards in place? Try and see if you can guess and leave your answer in the comments. I will be sending something to the first person who guesses correctly!

Hop along to see Holly's blog...

 http://justjulieb30.blogspot.com/2015/12/creation-station-december-blog-hop.html
Click back to see Julie's blog...

Below are all the products used for my 'Christmas' luminaire and card creations. Click on a thumbnail to be taken to my Online Store. While you are there you can check out the Weekly Deals and the Clearance Rack. Have fun shopping. 
*Australian Residents Only
Built for Free Using: My Stampin Blog


Christmas Gift Basket - Global Design Project #gdp013

| on
11:45
Hello and welcome to my blog. 
It's another Global Design Project Challenge and it's all about Colour. The beautiful combination of Real Red, Old Olive and Crumb Cake which are a perfect trio for Christmas!
And this is my creation:
A sweet Christmas Gift Basket using Crumb Cake cardstock, stamped with the Hardwood Background stamp using Crumb Cake ink. The lining of the basket is Old Olive Gingham from the Farmers Market DSP. 
The Real Red bow is made from the Bow Builder punch and I embossed the bow using the Stripes Embossing Folder. Finishing the basket with a touch of Holly berries and leaves.
I even made the back of the basket cute!

Thankyou so much for stopping by. I hope I have inspired you?, and I can officially say 'Merry Christmas'. 
You are most welcome to leave a comment too. D x

Below are all the products used for my 'Christmas Gift Basket' creation. Click on a thumbnail to be taken to my Online Store. While you are there you can check out the Weekly Deals and the Clearance Rack. Have fun shopping. 
*Australian Residents Only
Built for Free Using: My Stampin Blog

Custom Post Signature

Custom Post  Signature