
It's an Inspire.Create.Stamping Challenge, and our theme is 'CASE the Designer'.
CASE = Copy And Selectively Edit
Basically, we want you to be inspired by whatever you see from the creation below and name it your own. You can add your project to our gallery here.
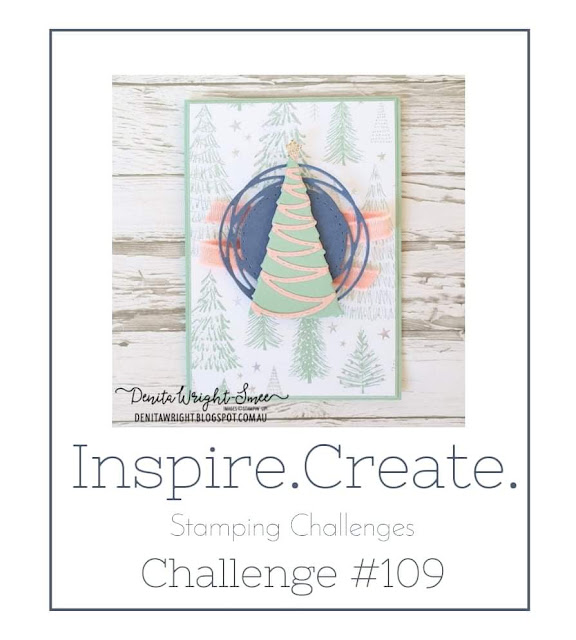 And the Designer is me!
Below is my creation for this Challenge, and I can't wait to see yours.
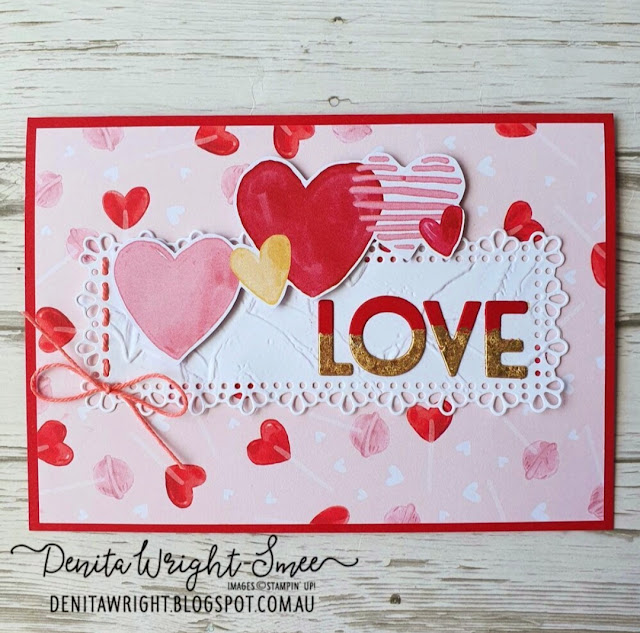
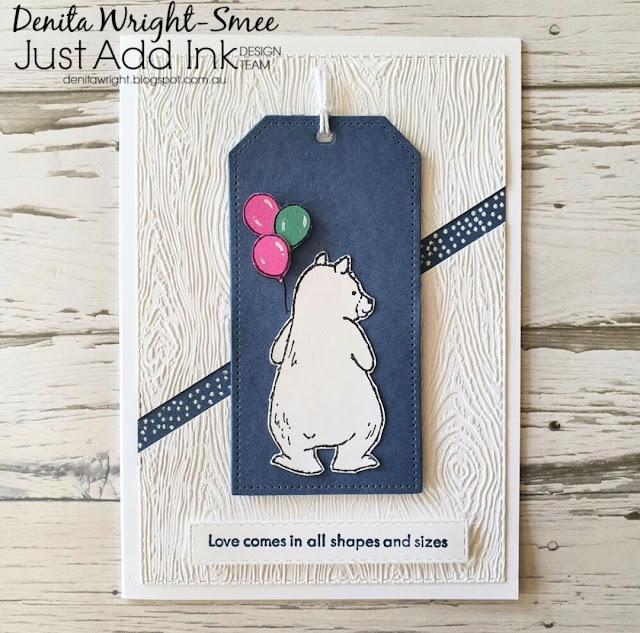
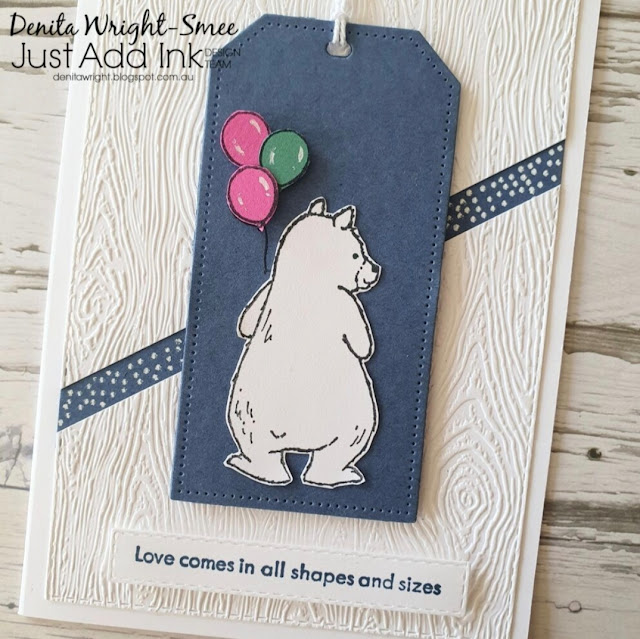
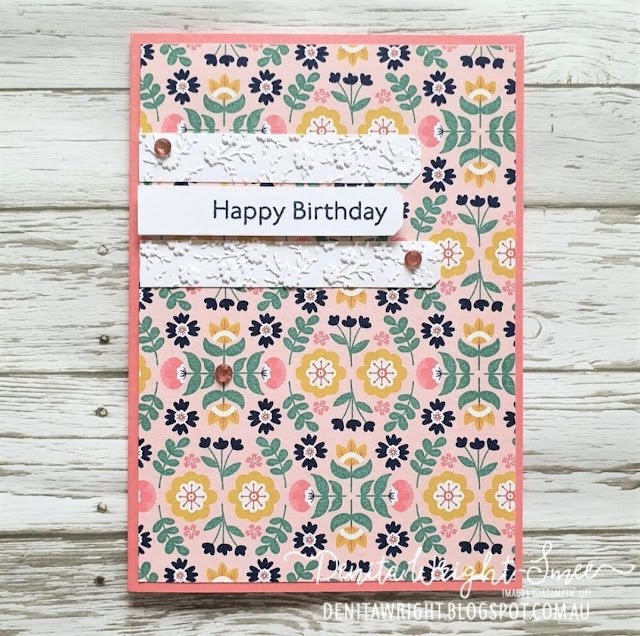
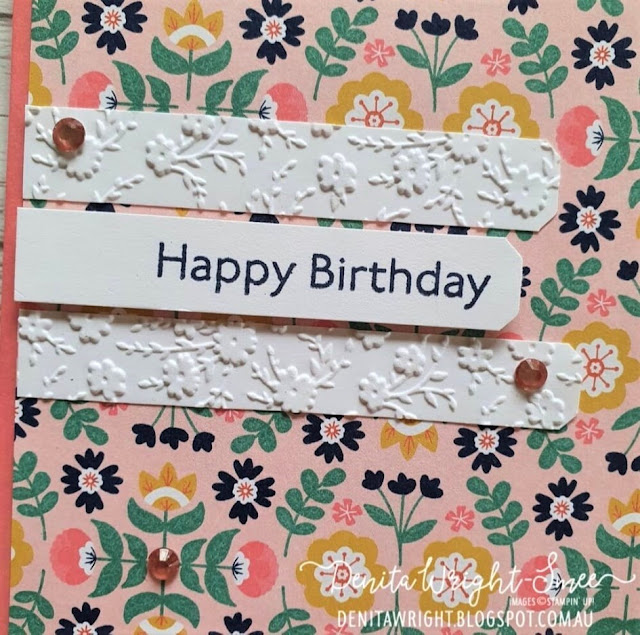
I have changed my theme to 'Love', flipped my card to 'Landscape', changed the circle element to a rectangle element and added coloured twine instead of ribbon.
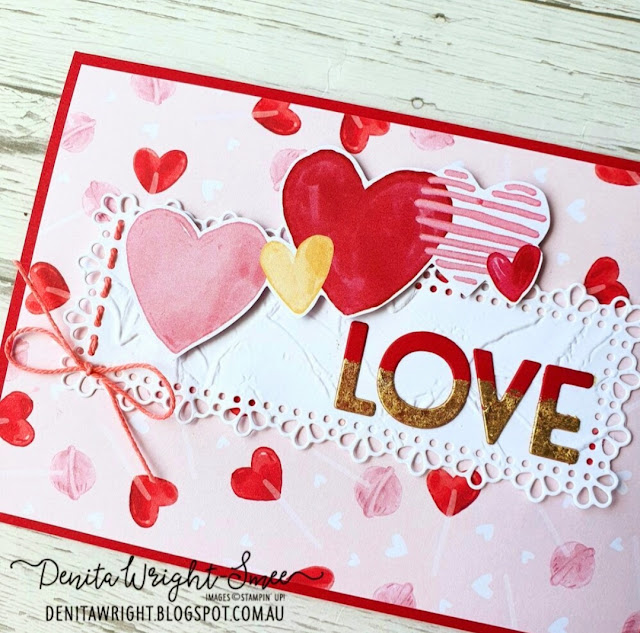
The 'Sweet Talk Designer Series Paper' had me at 'Hello', and makes for the sweetest card front.
It's a perfect fit for my 'LOVE' creation, and how adorable are the fussy cut hearts adorning the 'Ornate Layers Dies' element?
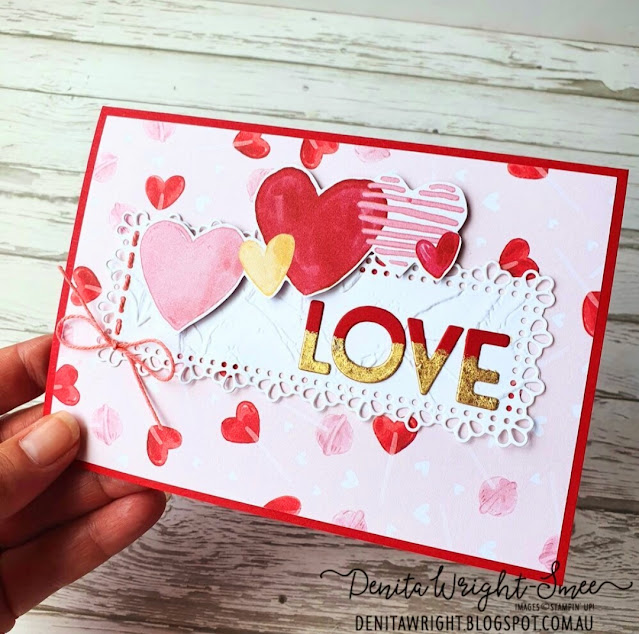
Details:
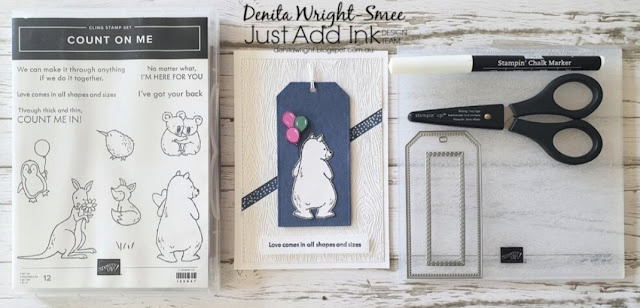
* The frame from the 'Ornate Layers Dies' was embossed with the 'Painted Texture 3D Embossing Folder' prior to being die cut.
* I coloured 'White Baker’s Twine' with the 'Light Flirty Flamingo Stampin' Blends Marker', and threaded it through the holes.
* I smooshed 'Multipurpose Liquid Glue' onto a piece of 'Real Red' cardstock, then added 'Gilded Leafing' to the adhesive. Allow to dry. Diecut the letters from the 'Playful Alphabet Dies', and adhere to the card.
Thankyou for visiting, and I hope you have been inspired by my 'CASE the Designer Challenge'.
See you next time. D x

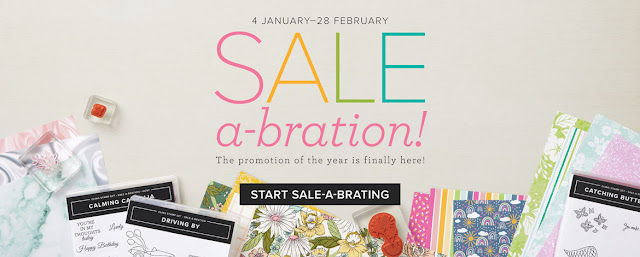
It's Sale-A-Bration time!
Choose a FREE Sale-A-Bration product with every $90AUD or $180AUD you spend (before tax & shipping).
Join my Team during Sale-A-Bration and select $235AUD of products for only $169AUD. During this time you will also get your choice of any two stamp sets for *FREE.
*Host stamp sets and Sale-A-Bration stamp sets are excluded from this offer.


 Designer Series Paper")


 Designer Series Paper")


