It's the first Sunday in the month of April, which means it's Creation Station Design Team Blog Hop time!
Thankyou for joining me, and our theme this month is 'Heat Embossing'... get ready for some amazing projects as you get hopping with the rest of the talented Design Team at the bottom of my post.
I have created a couple of cards and my heat embossed element is the background.
I have used the NEW 'Leaf Collection' Background stamp (to be found in the upcoming Annual Catalogue available ) and have a couple of different techniques to show you...
First up is a simple layout.
I have Heat Embossed Clear Embossing Powder onto 'Parakeet Party' cardstock to create the embossed background. The glossy texture from the Heat embossing makes for lovely detail on a card, and it feels so lovely to touch.
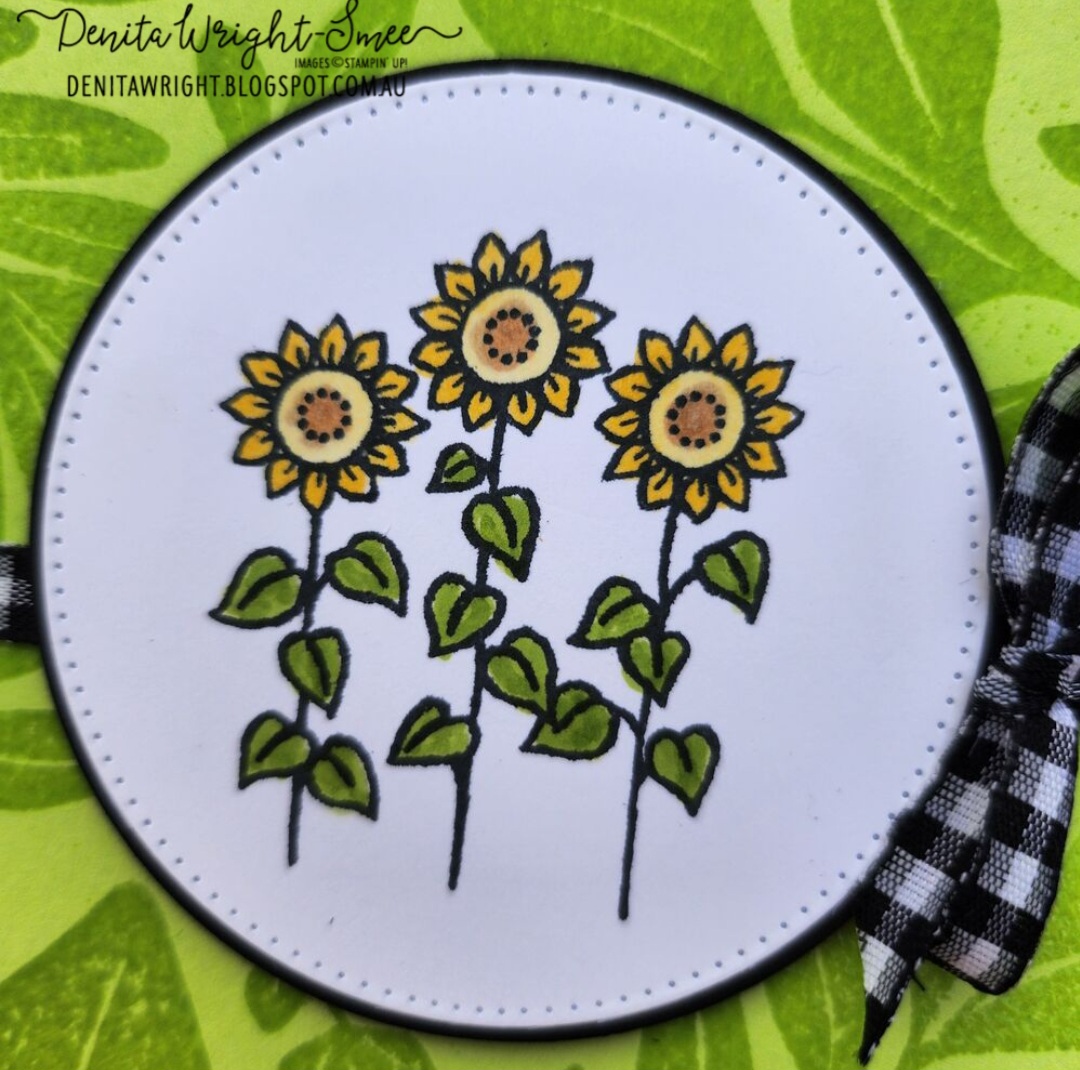
I had some fun colouring the flowers from the 'Cutest Cows' stamp set using 'Stampin' Blends', and I made a circular element to adhere to the front of my card.
'Black & White Gingham Ribbon' was added, and it pulls all the elements together.
I upgraded the Heat embossing element by adding 'Granny Apple Green' ink over the top. This is the 'Emboss Resist' technique.
With a 'Blending Brush' I swirled the ink over the embossed image to create a darker tone on tone.
Once happy with the added ink, I took a tissue to wipe away excess ink from the embossed images.
My little flower image even had an overhaul using a 'Blending Brush' to add colour to the circle element.
'Black & White Gingham Ribbon' was used to create a lovely Country Style card.
I have left my cards without a sentiment - you can add your own sentiment or add a sentiment to the inside of the card.
I stamped the flowers onto a piece of 'Basic White' cardstock and onto a Post-It note.
I fussy cut the flower image from the Post-It note, and adhered it to the cardstock.
I blended 'Pool Party', 'Granny Apple Green' & 'Pecan Pie' ink to create the background of the flowers.
Next up is the amazing Jeanna with her 'Heat Embossing' creations.
Thankyou for visiting, and I hope you enjoyed my creations?
Looking forward to seeing you next month for our May Blog Hop. D x
Welcome to the Stamping Sunday Design Team Blog Hop.
I'm Denita, from Australia - you may be starting with me, or have hopped from my beautiful friend Cheryll in South Australia, Australia.
It's the 3rd Sunday in the month of February, and our creations follow our theme; 'Whimsical Wings & Soaring Hearts'.
We have created some fun & whimsical creations for this month.
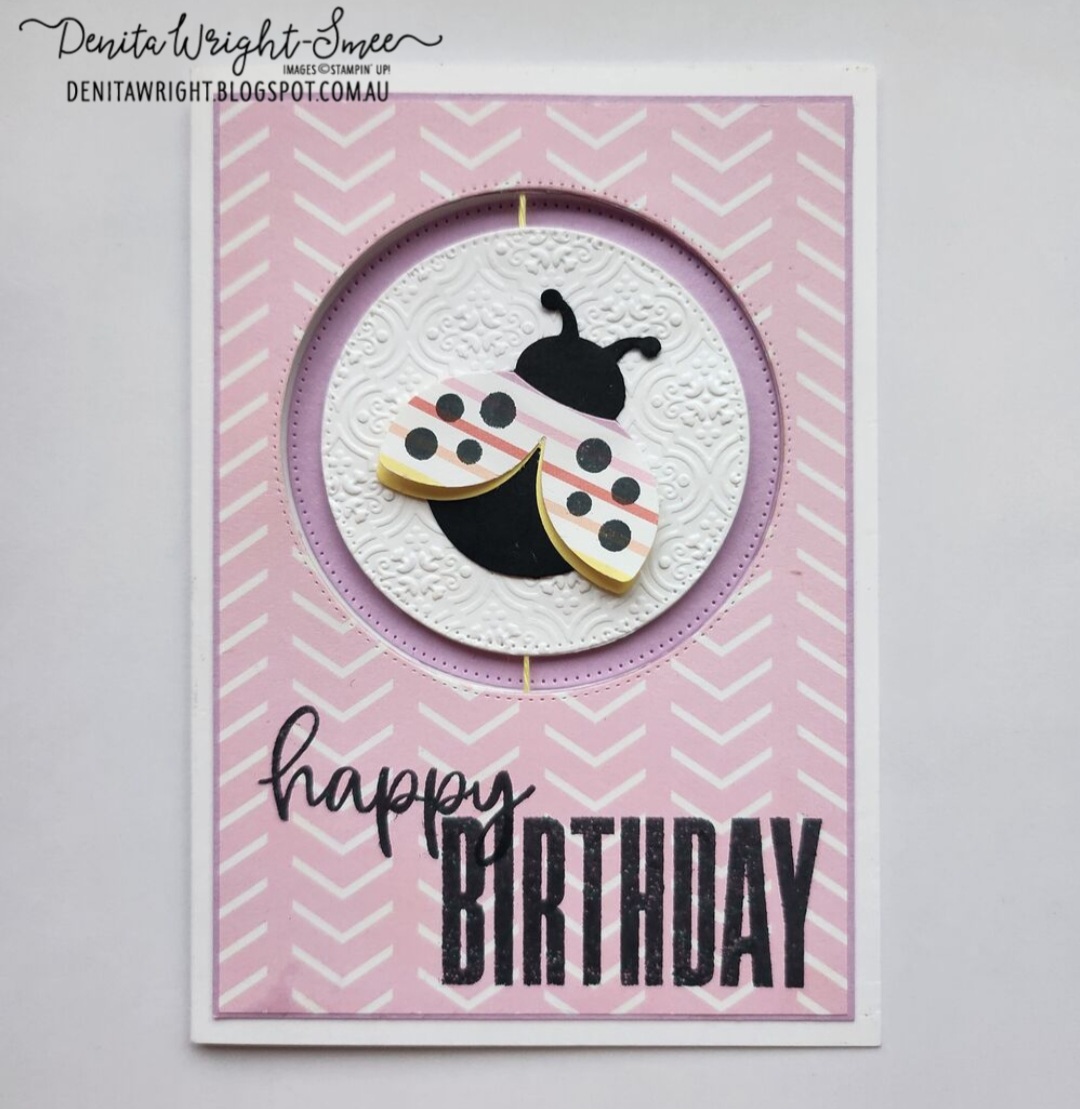
I have used the 'Hello Ladybug' stamp set and coordinating 'Ladybug Builder Punch' for my creations... they are my 'Whimsical Wings'.
I have made a spinner card.
A cute and whimsical ladybug that spins when you open the card - the mechanism is the 'Lemon Lolly Baker's Twine' that is twisted and when you open the card the circle element spins.
Happy Birthday - stamped using the 'Biggest Wish' stamp set.
Celebrate, Celebrate, Celebrate!
Thanks to the 'Circle Sayings' stamp set.
And that die-cut circle element can be made into the sweetest gift tag!, with some texture from the 'Quatrefoil
Such a cute and whimsical duo with the darling 'Lighter Than Air 6" x 6" Designer Series Paper' and coordinating 'Bakers Twine 3 Color Pack'.
Below is the list of our fabulous Design Team, and you can click on the NEXT BLOG to visit the rest of the Design Teams creations.
It's the first Sunday in the month of February, which means it's Creation Station Design Team Blog Hop time!
Thankyou for joining me. Our theme this month is 'Sale-a-Brate Friendship'... get ready for some amazing projects as you get hopping with the rest of the talented Design Team at the bottom of my post.
SALE-A-BRATION
*For every $90 and $180 you spend, you’ll earn an exclusive Sale-A-Bration item for free!
Depending on the amount you spend, you’ll be able to mix and match the Sale-A-Bration items you earn. There is a stunning variety of stamp sets and Designer Series Paper for you to choose from.
Now through 29th February.
It all started with a 'Balmy Blue' gift box...
I have used 2 *Sale-A-Bration products; 'Flight & Airy 12" x 12" Designer Series Paper' and the 'Softly Sophisticated Embossing Folder'.
The NEW 'Hooray for Surprises Bundle' also makes an appearance.
I coloured 'Basic White' cardstock with 'Balmy Blue Stampin' Blends Markers', to create an ombre effect, and die cutting with the heart shaped die.
*The heat embossed gold sentiment was stamped prior to die-cutting.
This little blue bird was fussy cut, and I added a second wing to create a 3D feature.
I have added some 'Balmy Blue' ink with a 'Blender Brush' to the edges of the embossed 'Balmy Blue' cardstock.
A few 'Rhinestone Basic Jewels' coloured with 'Dark Balmy Blue Stampin' Blends Marker are added at the end, and the 'Balmy Blue/White 1/2" or 1.3cm Varigated Ribbon is a stunning finish.
INSTRUCTIONS for the Gift Box:
Cardstock measurement: 6-1/4" x 8-1/2" or 15.9cm x 21.5cm
Score on all sides of card base 3/4".
Flip cardstock onto short side and score 3-7/8" & 4-5/8"
Fold score lines, cut to form a box with tabs that fold into each other.
Welcome to the Stamping Sunday Design Team Blog Hop.
I'm Denita, from Australia - you may be starting with me, or have hopped from Sharni, also in Australia?
It's the 3rd Sunday in the month of December, and our creations follow our theme; 'Simply the Best'.
We have created Clean and Simple cards for this month.
Clean and simple cards meaning; just stamping and no layers.
Or a card with one or two layers, lots of white space. That's what gives it the 'clean' look.
I have created a handful of 3" x 4" notecards from the 'Basic White Assorted Memories & More Cards & Envelopes' for all occasions, with my interpretation of 'Clean and Simple'...
*'Planted Paradise' stamp set.
The following 2 steps are for all the card fronts.
I added 'Pool Party' ink to the card front using a 'Blending Brush.
Splattering 'Pebbled Path' ink onto the card front with a 'Water Painter Brush' and allow to dry.
Pot - 'Copper Clay' ink & Plant - 'Garden Green' ink, and fussy cut with 'Paper Snips'.
Add 'Stampin' Dimensionals' to the back.
Stamp the sentiment to the card front using 'Copper Clay' ink.
Remove the backing tape from the 'Stampin' Dimensionals' and adhere to the card front.
*Available in the January-April Mini Catalogue 4th January, 2024.


 First up is a simple layout.